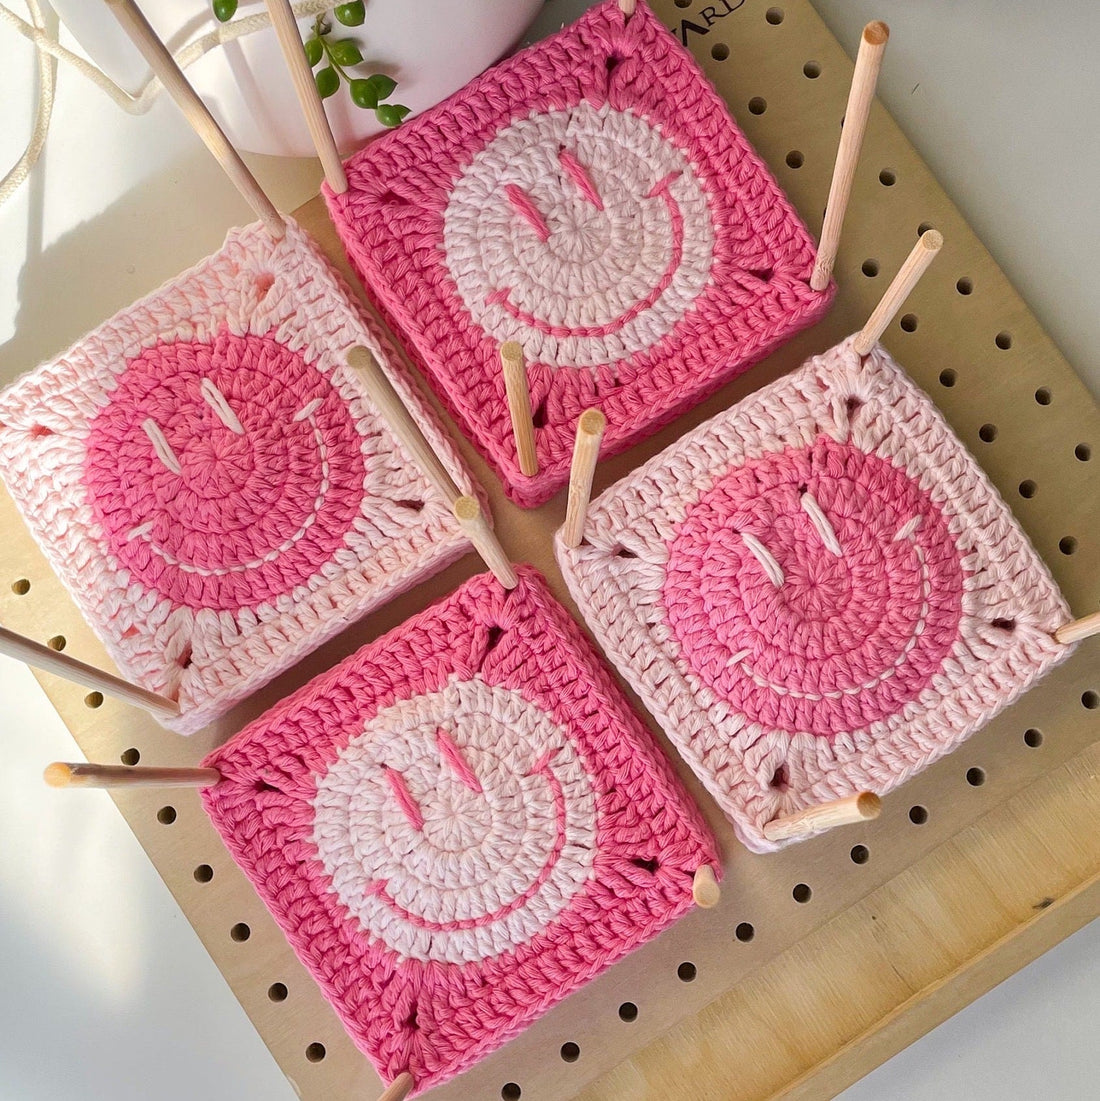
Happy Face Granny Square | FREE Pattern
Share
Hi besties!
Here is a free pattern for my happy face granny square!!
Full Youtube Tutorial:
If you have any questions please send me an email at info@yarnunder.com or dm me on instagram @yarnunderr!!
I would love to see finished products so please tag me in any photos! Enjoy!
Lets get started!
Dimensions: 4.5 x 4.5 inches
Materials:
- Approx 10g of 100% cotton aran yarn in two colours of choice
- 3 or 4mm hook (the recommended hook size for this yarn is 4mm, however, I like to use a 3mm to make the square sturdier)
- Scissors
- Darning needle
Stitch Abbreviations (US terms):
- CH - chain
- SL ST - slip stitch
- SC - single crochet
- HDC - half double crochet
- DC - double crochet
- TR - treble crochet
- * * - repeat instructions within
The Face
Round 1: Begin by creating a 'Magic Ring', CH3 (this counts as the first DC), DC 11 into the magic ring, SL ST into the first DC. (12)
https://www.youtube.com/watch?v=QwiwzlcmPdU&t=32s

(If you aren't a fan of the magic ring, CH4, SL ST into the first chain, CH3, then DC 11 times into the ring, pull yarn to close the centre, SL ST into first DC)
Round 2: CH3 (this counts as the first DC), DC into the same stitch, 2DC into each stitch around, SL ST into the first stitch. (24)

Round 3: CH3 (this counts as the first DC), DC into the same stitch, *DC in the next stitch, 2DC in next stitch* repeat around, SL ST into the first DC. (36)

Round 4: CH3 (this counts as the first DC), DC into the same stitch, *DC into the next 2 stitches, 2DC into the next stitch* repeat around, SL ST into the first DC and fasten off. (48)

The Border


Sewing The Face
Using your yarn and darning needle, insert the needle through the back of third round and sew in-between the first and second round to create a vertical line, repeat this one more time to create the first eye.

Then create a small horizontal stitch slightly to the right, between the third and fourth rounds. Insert your needle between the middle of this line and begin to sew the rest of the smile using a backstitch.

Sew the second eye, then turn over your work, tie the two ends in a knot and weave in your ends.
